
Exactly how To Take Care Of a Dripping Outside Faucet
Dripping outside taps can be a substantial trouble. For one thing, they can create your water expenses to increase, leaving you to spend on water that you really did not in fact use as well as seriously destroying you allocate the month. They can additionally destroy your thoroughly often tended yard and also plants and also make your yard or yard look worn out.
Luckily, fixing a dripping outdoor tap is something that you can conveniently do. Read on to recognize how you can get this job performed in no time.
Gather The Devices And also Products You’ll Require
Before doing anything else, ensure to have every little thing you require at hand. By doing this, you will not need to stand up in the middle of the repair work just to seek a tool you have actually failed to remember to bring. When fixing a leaking exterior faucet, you’ll require to have an adjustable wrench, a flat-head screwdriver, a small brush (or an old toothbrush), as well as plumbing tape. You can likewise acquire a new washer beforehand; if you’re not exactly sure what size or the kind you require, ask your local hardware store if you can acquire a bag of assorted washing machines. Additionally, you can wait till you have actually gotten rid of the old washing machine from the tap so you can bring it with you to the hardware as well as by a specific replacement.
Recognize Where The Leakage Is Originating from
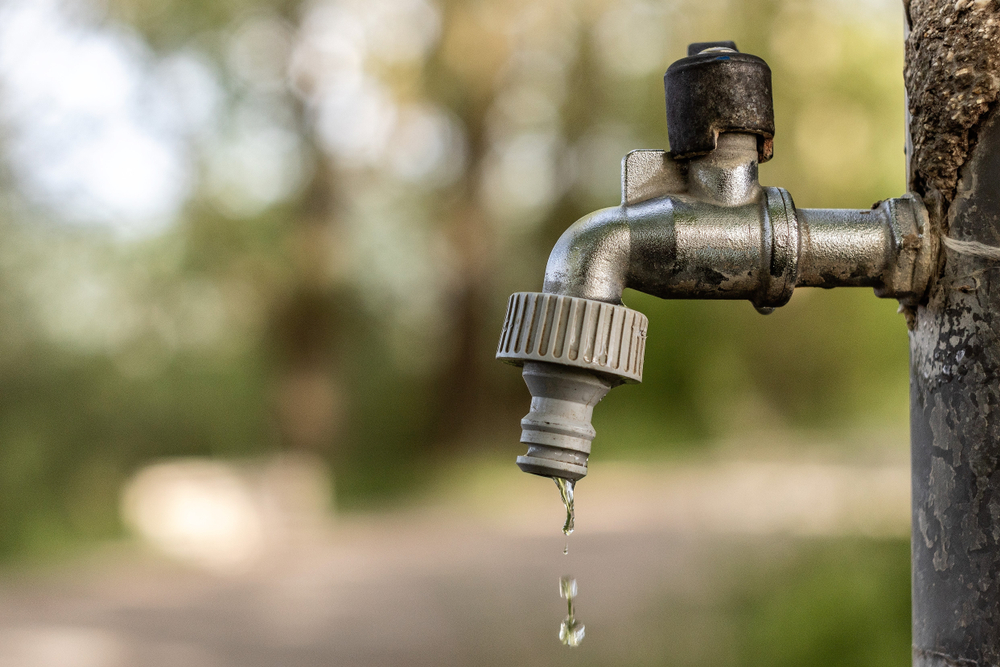
Examine the tap to see precisely where the water is leaking out. Outdoor faucets typically leak in 2 places: the deal with or the spout. Recognizing the area of the leakage is essential because this determines what you need to do following.
Shut off The Main Water Connection
Prior to you start the repair services, see to it to switch off the main water valve. By doing this, you can safely take the tap apart without fretting that a hot spring of water will certainly rush at you!
Repair The Leak
If the faucet is dripping at the take care of, make use of the flexible wrench to tighten up the packing nut (which lies right behind the faucet handle). Packing nuts generally obtain loose gradually because of water pressure as well as various other elements and also can result in leakages. Tightening it normally solutions the problem right away.
Regrettably, points can get a bit challenging if the tap is dripping at the spout. If this is the case for your outside tap, you’ll require to take the complying with steps:
1. Make use of the flexible wrench to loosen the packing nut and eliminate the shutoff stem (which rests listed below the nut).
2. Take your flat-head screwdriver and also utilize it to get rid of the screw at the end of the shutoff.
3. As soon as the screw is off, meticulously remove the old washer using the screwdriver.
4. Clean the washer seat using the brush to remove any type of deposit that’s holding on to it, then put the new washer.
5. Change the screw.
6. Place plumbing technician’s tape on the strings of the faucet for a safe fit then places the shutoff back in. Make sure to tighten up the packaging nut using your adjustable wrench.
When you’ve finished your repair work, turn the main water link back on to see if the leak is still there. If it is, you’ll require to call a professional plumbing technician ASAP. By doing this, you’ll have someone that can troubleshoot your outside tap as well as the know-how to repair it in a quick and also simple means.